Recipient authentication
Email Code Authentication
Authenticate recipients with a verification code sent to their email address.
With email code authentication, SignatureAPI sends the recipient an email containing a 9-digit verification code. The recipient enters this code to authenticate and access their signing ceremony.
When to use
Email code authentication is useful when:
- You want to share the ceremony URL through your own channels (SMS, app notifications, direct links).
- Recipients are in environments where email links may be blocked by security policies.
- You want to embed the ceremony in your application while still using email-based authentication.
Unlike email link authentication, the ceremony URL is returned in the API response. You deliver the URL yourself.
How it works
Configure the ceremony
Create an envelope or call the Create Ceremony endpoint with email_code authentication. The API returns the ceremony URL.
Deliver the URL
Share the ceremony URL with the recipient through your chosen channel (email, SMS, in-app link, etc.).
Recipient enters code
When the recipient opens the URL, SignatureAPI prompts them to verify their email. After they click the verification button, SignatureAPI sends them a 9-digit code by email.
Authentication complete
The recipient enters the code. Once verified, they can proceed with signing.
Creating an email code ceremony
On envelope creation (automatic)
Set the recipient’s ceremony authentication to email_code when creating the envelope. The ceremony URL is returned in the response.
// POST https://api.signatureapi.com/v1/envelopes
// X-API-Key: key_test_...
// Content-Type: application/json

{
    "title": "Service Agreement",
    "recipients": [
        {
            "type": "signer",
            "key": "client",
            "name": "John Doe",
            "email": "john.doe@example.com",
            "ceremony": {
                "authentication": [
                    {
                        "type": "email_code"
                    }
                ]
            }
        }
    ],
    "documents": [ /* ... */ ]
}
The response includes ceremony.url for each recipient:
{
    "id": "abcdef12-3456-7890-1234-abcdef123456",
    "title": "Service Agreement",
    "recipients": [
        {
            "type": "signer",
            "key": "client",
            "name": "John Doe",
            "email": "john.doe@example.com",
            "ceremony": {
                "authentication": [
                    {
                        "type": "email_code"
                    }
                ],
                "url": "https://sign.signatureapi.com/en/start?token=eyJhbGcNiIsInR..."
            }
        }
    ]
}
Create Ceremony endpoint (manual)
Use the Create Ceremony endpoint to create an email code ceremony after the envelope is created.
Creating a new ceremony automatically revokes any previous ceremony for that recipient. Only the most recent ceremony remains active.
// POST https://api.signatureapi.com/v1/recipients/{recipient_id}/ceremonies
// X-API-Key: key_test_...
// Content-Type: application/json

{
  "authentication": [
    {
      "type": "email_code"
    }
  ]
}
The url property in the response is the ceremony URL to deliver to the recipient.
// HTTP/1.1 201 Created
{
  "authentication": [
    {
      "type": "email_code"
    }
  ],
  "embeddable_in": [],
  "redirect_url": null,
  "redirect_delay": 3,
  "url_variant": "standard",
  "url": "https://sign.signatureapi.com/en/start?token=eyJhbGcNiIsInR..."
}
Recipient experience
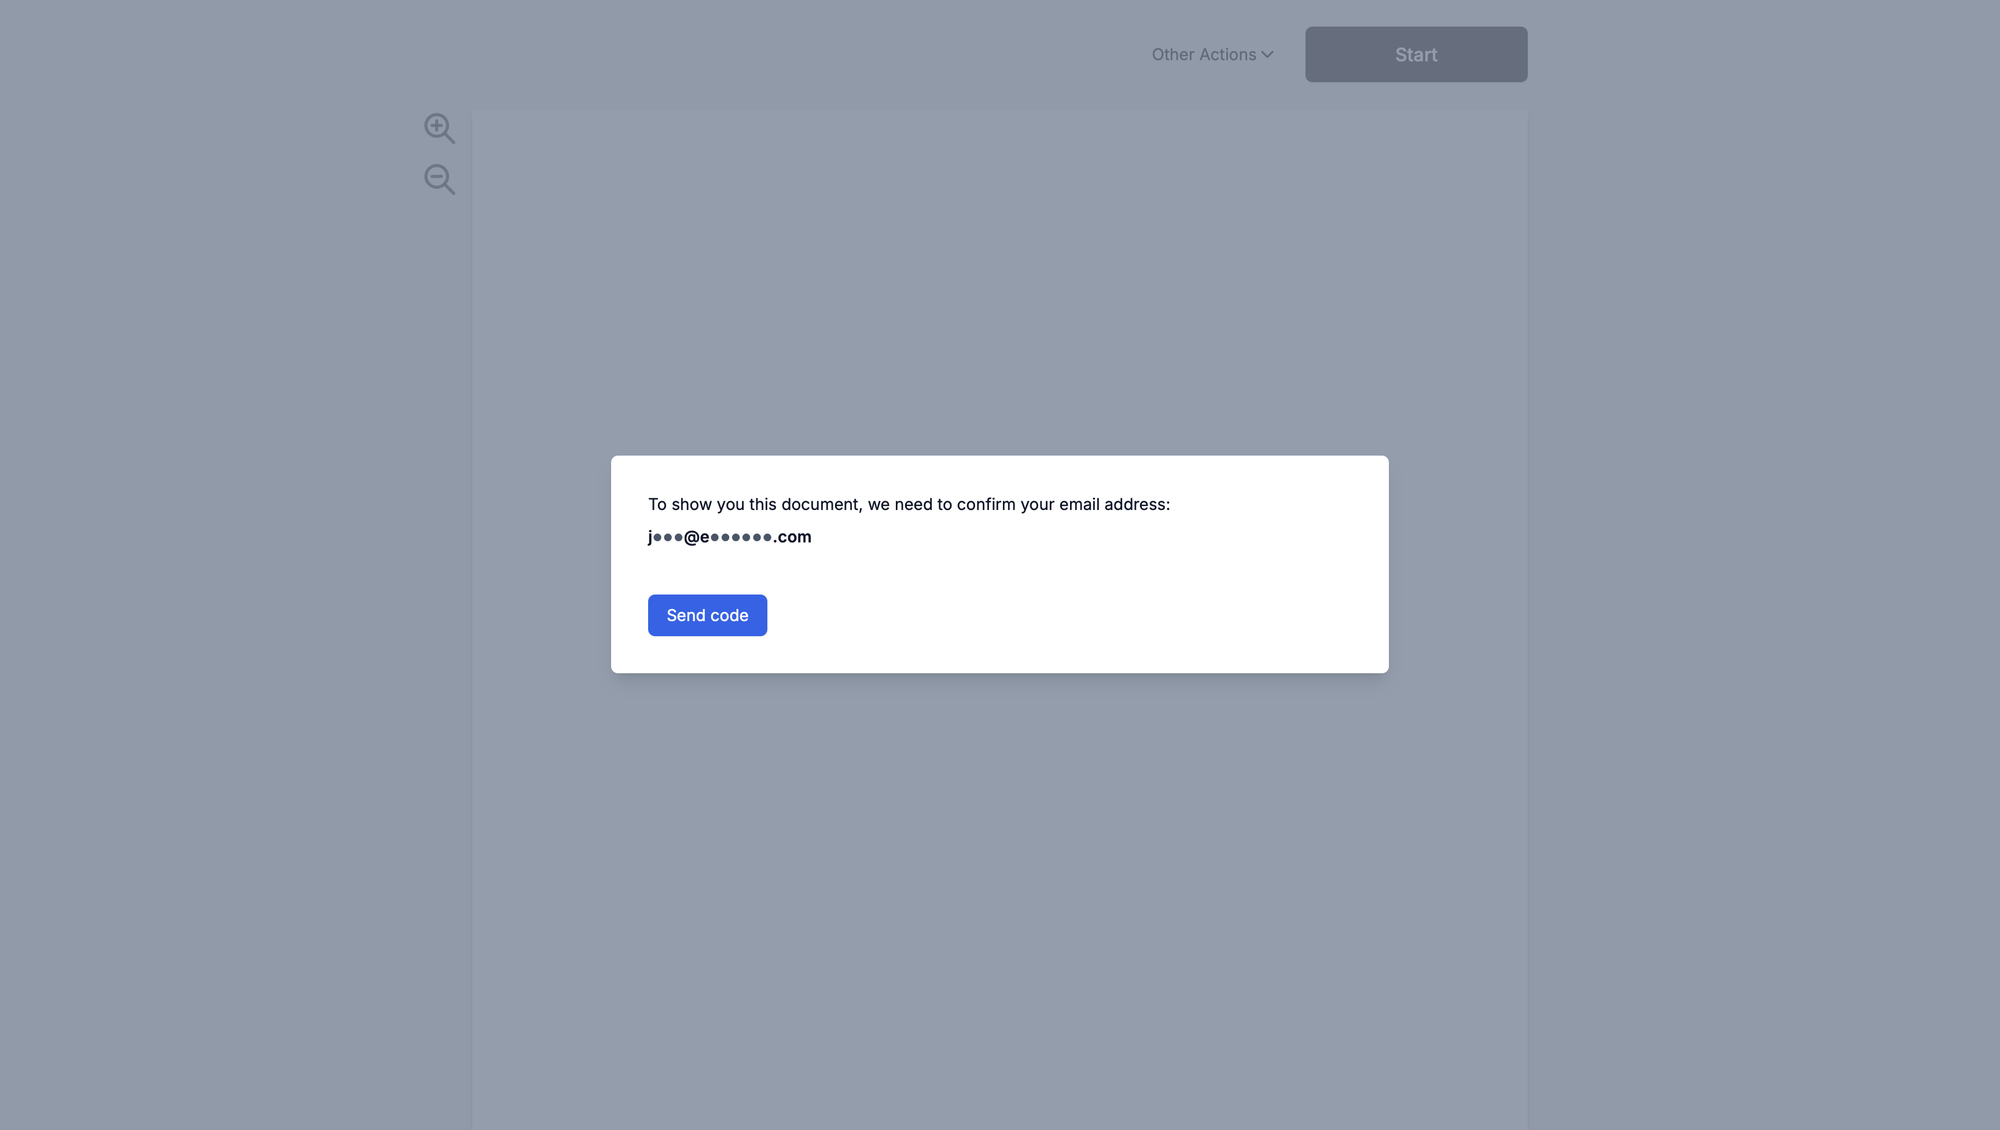
Email verification prompt
The recipient opens the ceremony URL and is asked to verify their email address.
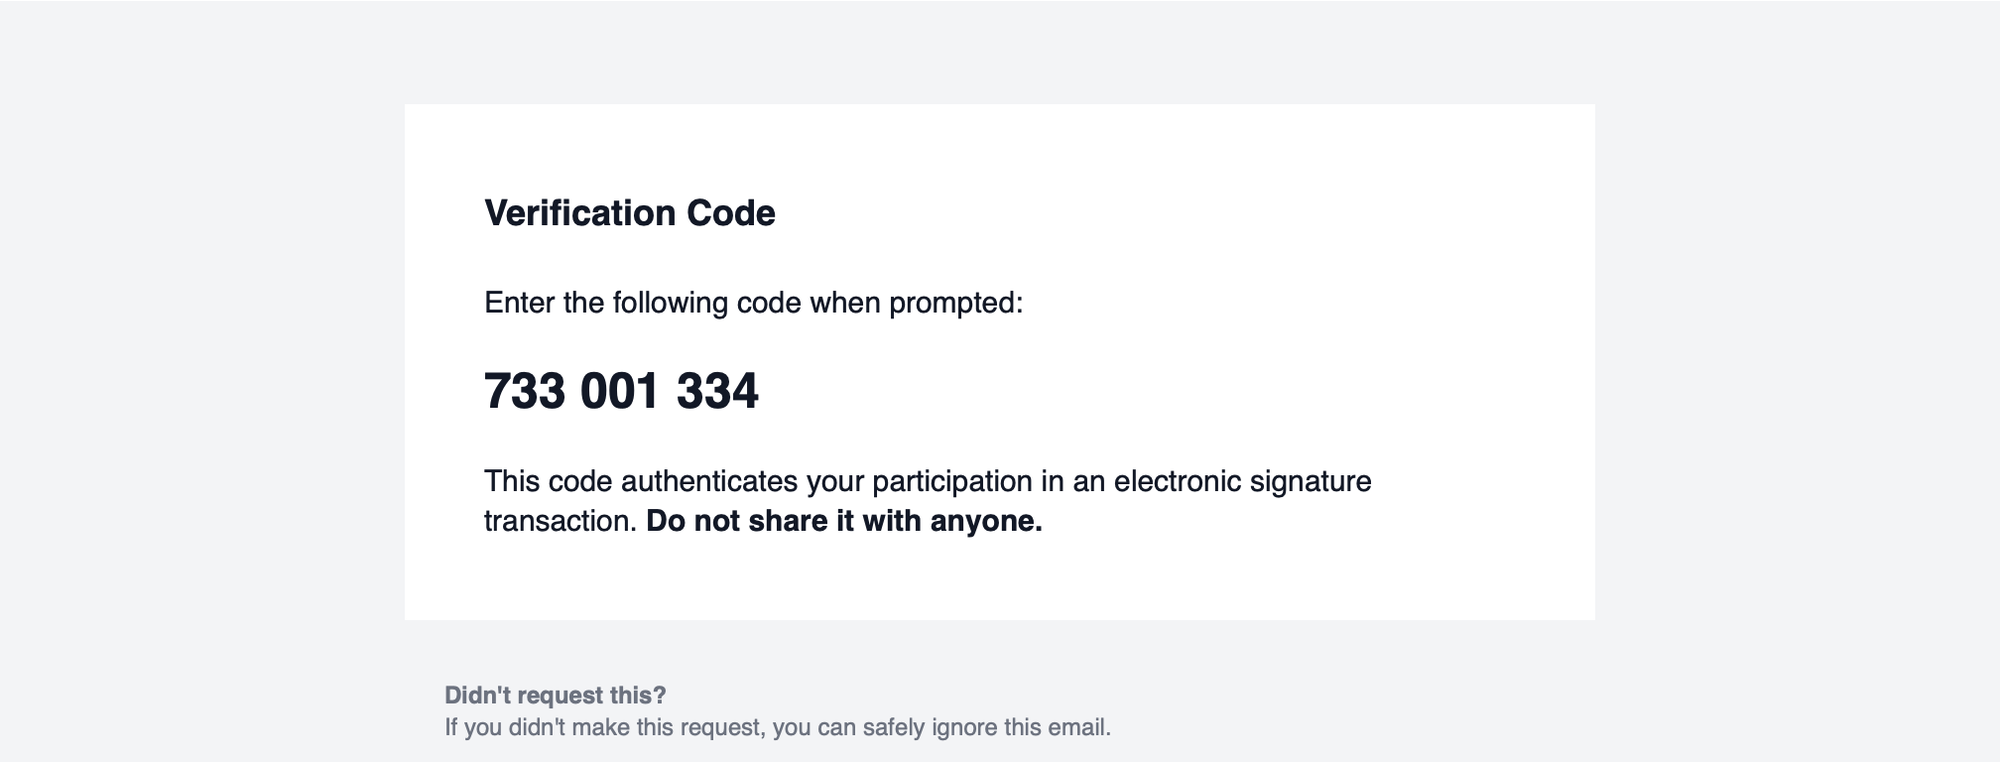
Code sent by email
After the recipient clicks to verify, SignatureAPI sends them an email with the 9-digit code.
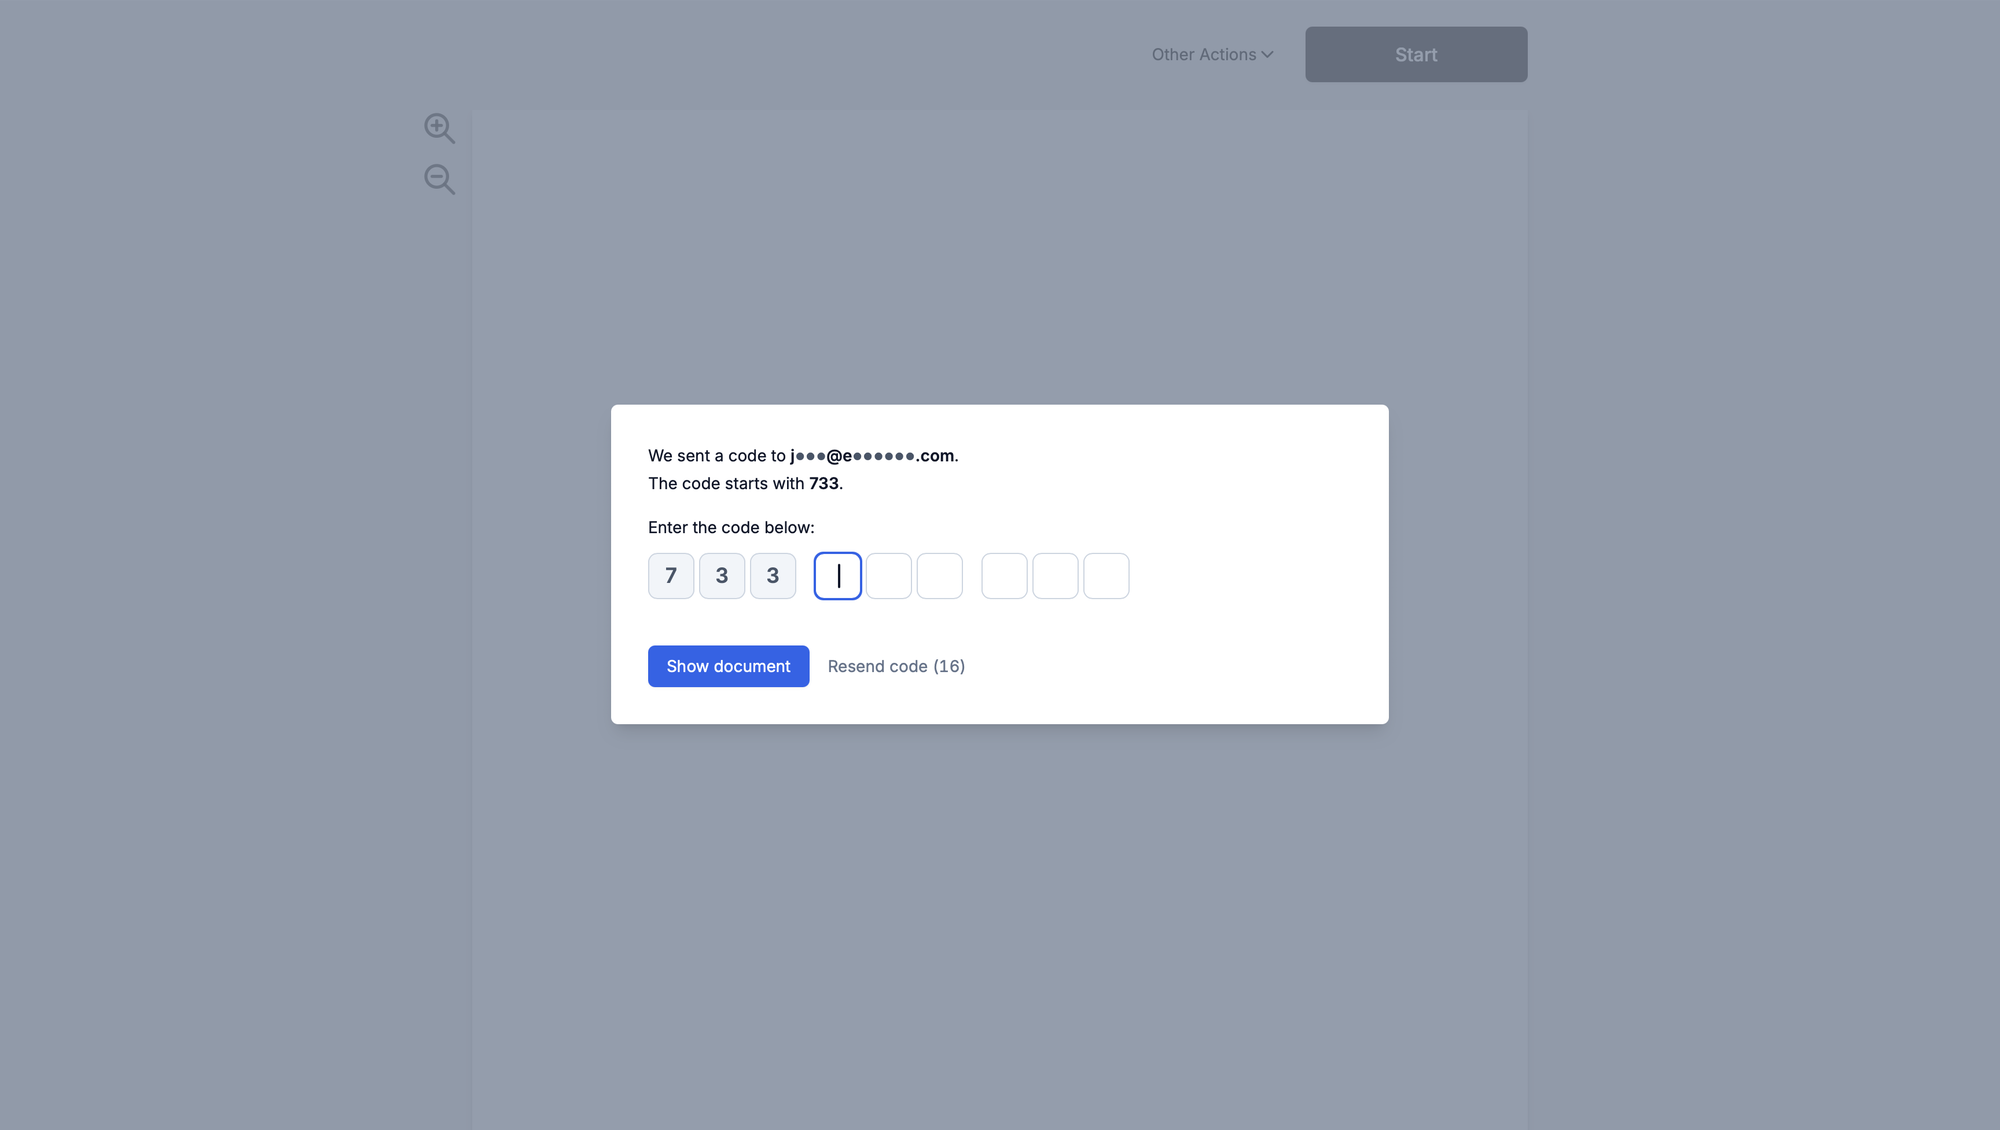
Code entry
The recipient enters the code in the ceremony interface.
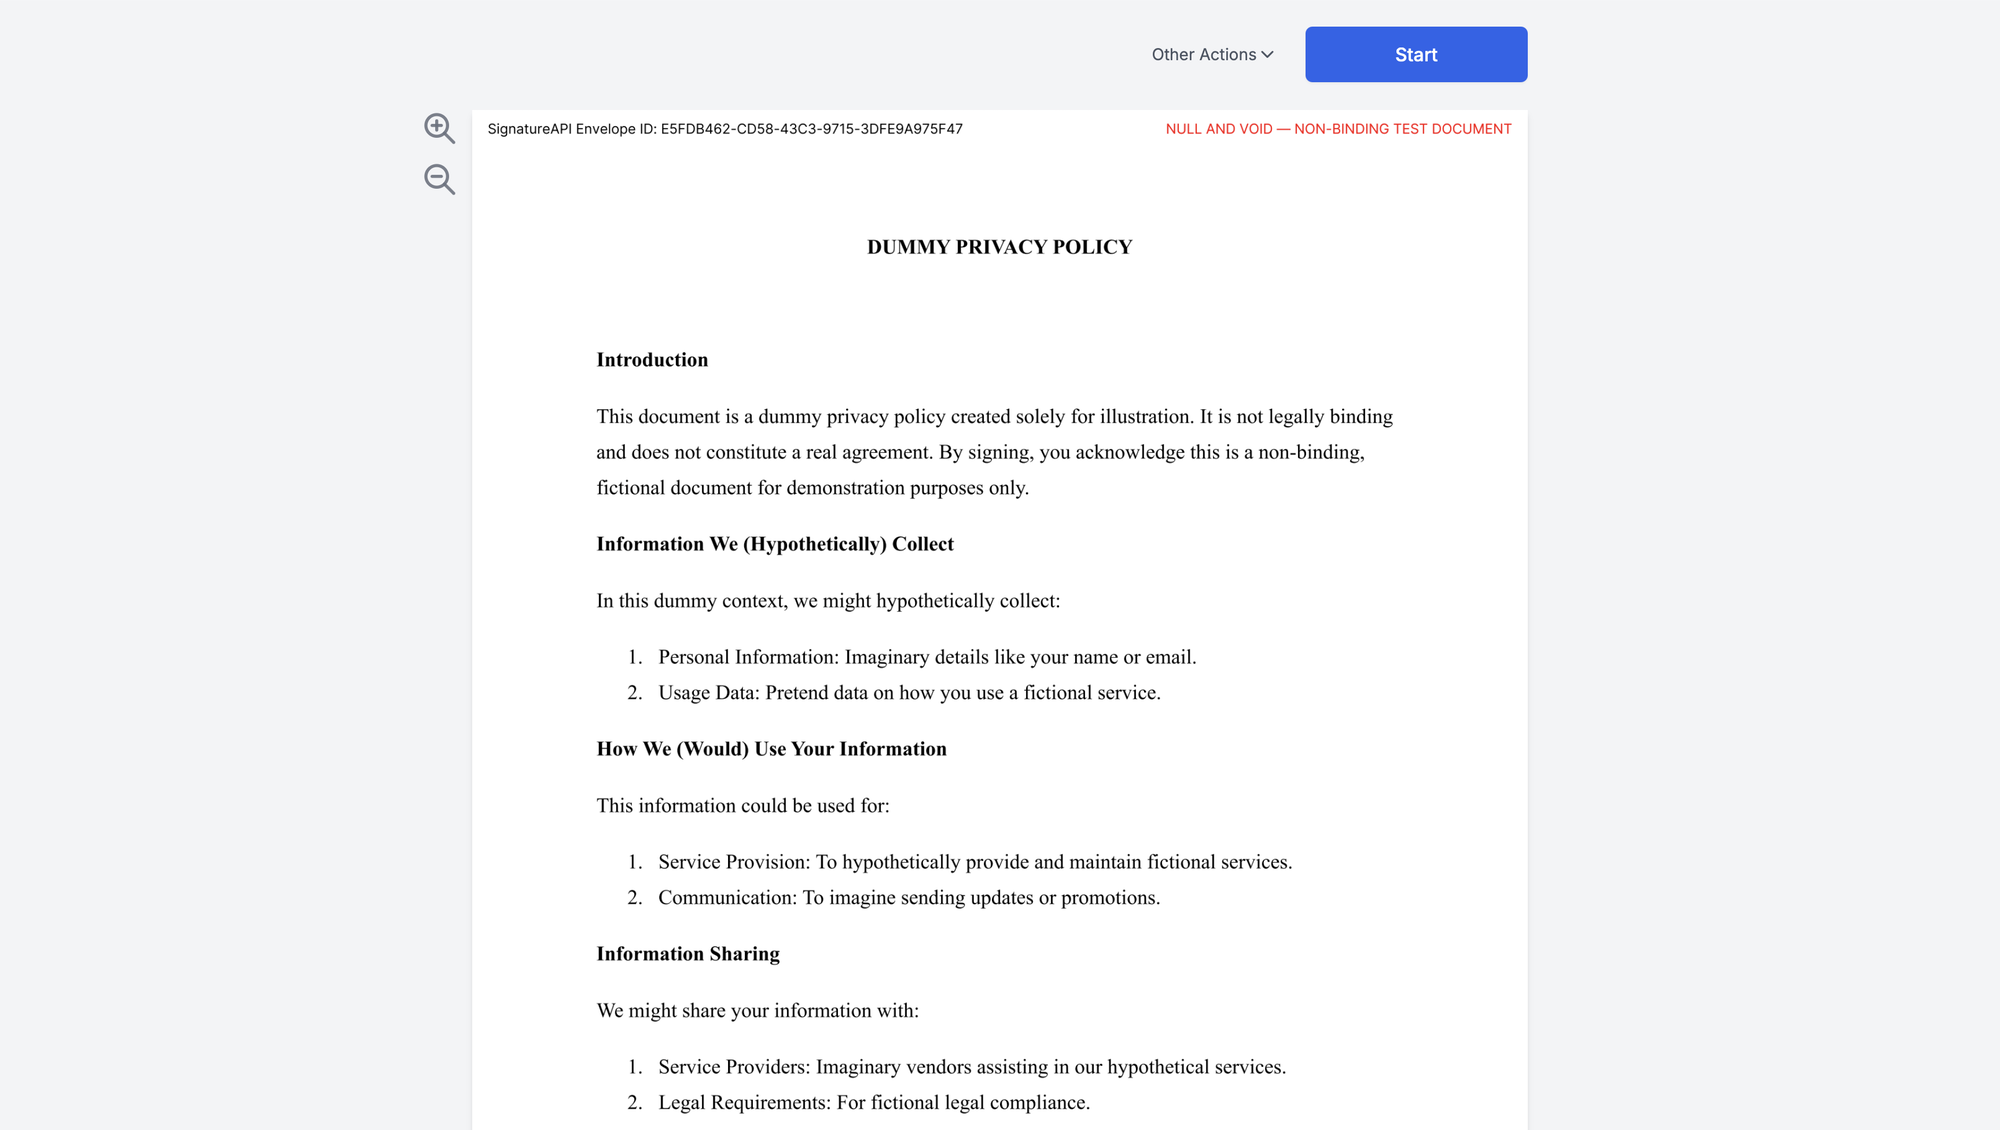
Access granted
After the correct code is entered, the recipient can proceed with signing.
Audit log
When the recipient enters the verification code, SignatureAPI records the timestamp. The audit log entry looks like this: