Senders
Sender
A sender is a verified email address that SignatureAPI uses when sending signing requests to recipients
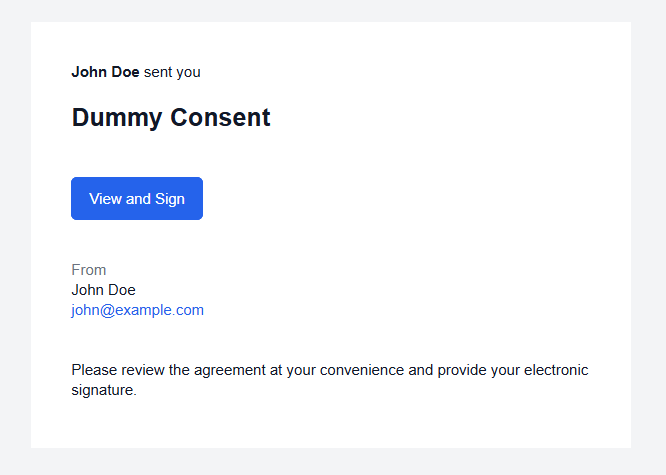
A sender is a verified email address. SignatureAPI sends signing request emails to recipients on behalf of the sender’s address. The sender’s name, email address, and organization appear in every email sent to recipients, and the sender’s address is used as the Reply-To address.
Before an email address can be used as a sender, the address owner must complete email verification. SignatureAPI initiates this by sending a verification email when you create the sender.
Verification lifecycle
A sender goes through a verification process before it can be used. See the sender lifecycle for details.
Managing senders
You can manage senders in the Dashboard under Settings, or programmatically using the API.
Dashboard. When you created your SignatureAPI account, a sender was automatically added using your account email address. That sender is already verified. To add a new sender, click New Sender in the Senders settings and enter the email address to verify.
API. Create a sender using the Create a sender endpoint. SignatureAPI sends the verification email automatically. Listen for the sender.verified or sender.failed webhook events to track the outcome.
Default sender
Every account has a default sender. When you create an envelope without specifying a sender, SignatureAPI uses the default sender’s name and email.
To change your account’s default sender, click Set default next to the desired sender in the Dashboard.
To specify a sender explicitly on an envelope, include the sender property in the request body:
// POST https://api.signatureapi.com/v1/envelopes
// X-API-Key: key_test_...
// Content-Type: application/json

{
    "title": "Consulting Agreement",
    //...
    "sender": {
        "name": "Jennifer Lee",
        "email": "jennifer@example.com",
        "organization": "Acme Enterprises"
    }
}
Email addresses in signing requests
All signing request emails are sent from noreply@signatureapi.com. This cannot be changed. SignatureAPI enforces a strict DMARC policy to protect email deliverability across major email providers. Sending from custom domains would risk emails landing in spam or being rejected.
Your verified sender address appears as the Reply-To address, so recipient replies go directly to you. The sender’s name and organization also appear in the email body.
To control the Reply-To address and sender details, create and verify a sender with the desired email address, then assign it to envelopes or set it as your default sender or in the envelope request.
envelope.branding.email.from property. Contact support to discuss eligibility. However, consider this could affect email deliverability and it’s exclusive to premium enterprise customers.Attributes
The unique identifier of the sender.
The email address of the sender. SignatureAPI sends signing request emails to recipients on behalf of this address.
The current verification status of the sender.
| Status | Description |
|---|---|
pending_verification | A verification email was sent. The address owner has not yet confirmed. |
verified | The address owner confirmed the verification email. This sender can be used on envelopes. |
failed | Verification failed due to a bounce or error. This sender cannot be used. |
The time at which the sender was created, formatted as an